Quick start
Your first reel in ten minutes
Eight steps from a folder of clips to one file that’s ready to post. Everything else the app does can wait until you’ve been round once.
Before you start
You need a folder with footage already in it. Twenty or thirty clips is plenty, and a job you’ve already delivered is the best thing to practise on, because you know how it ought to turn out.
Nothing here changes your files. The app keeps one small record beside your clips and leaves the footage exactly as the camera wrote it, so there’s nothing to be careful about.
Say yes to the terms
They come up once, on the first launch. Your free week starts on its own, with no key and no card; if you already have a key, paste it when the app asks. Either way everything below works, including the export at the end.
Start a project on your footage
Choose New Project, give it a client or project title, and point it at the folder your clips are already in. Everything inside counts, subfolders included, and nothing is moved or copied. Open Existing Project is for going back to a folder you’ve worked in before; aim it at one the app has never seen and it offers to start a project there instead.
Watch it, and judge as you go
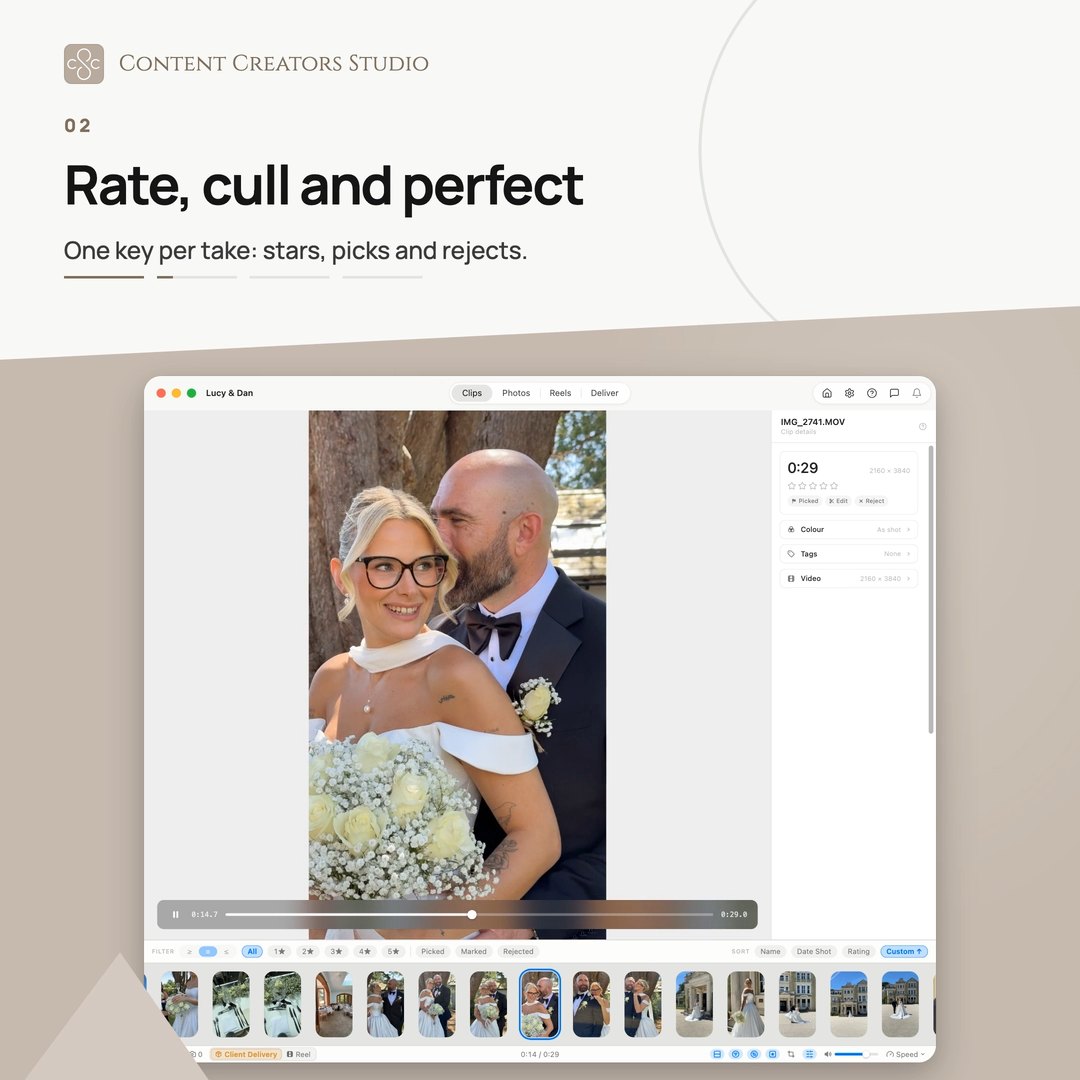
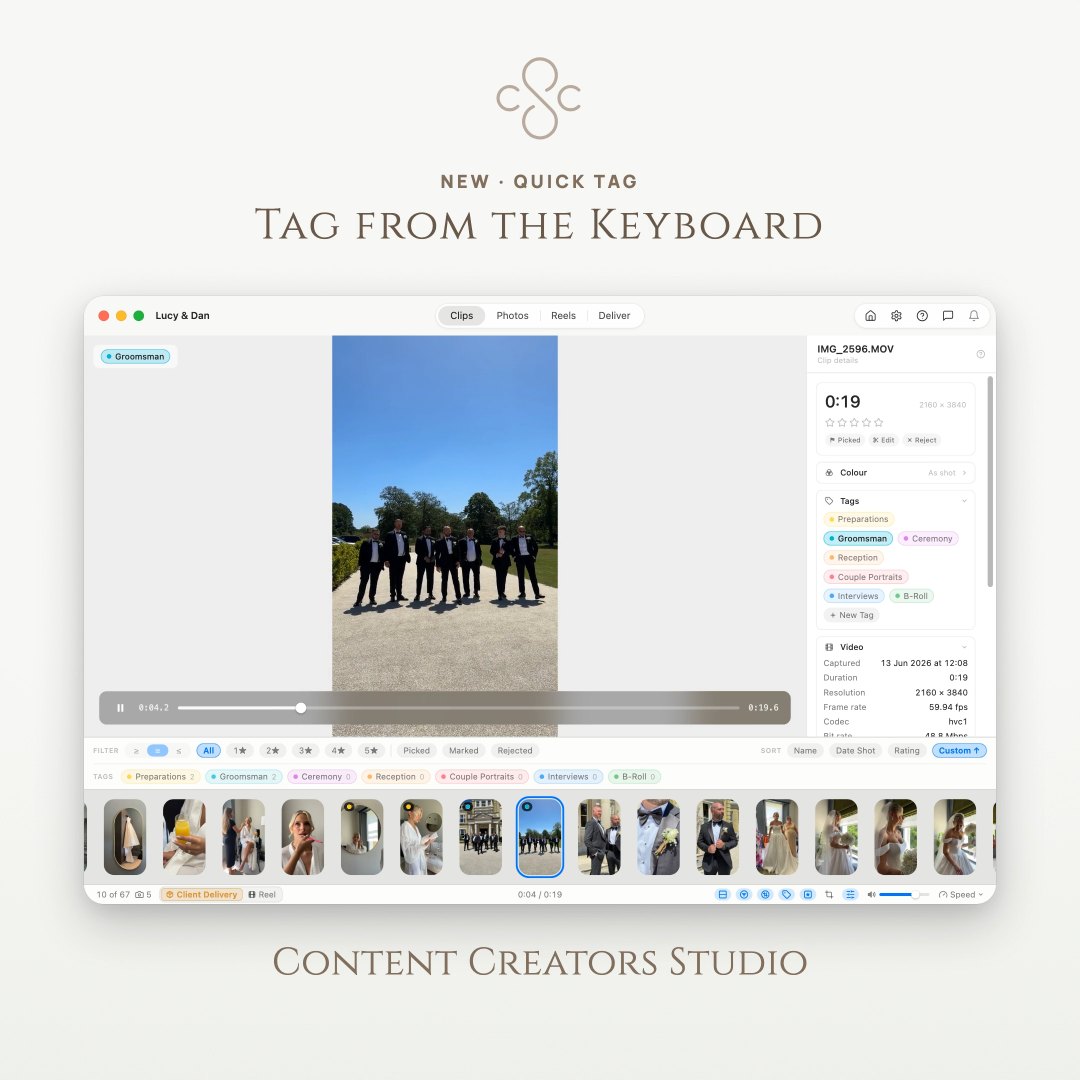
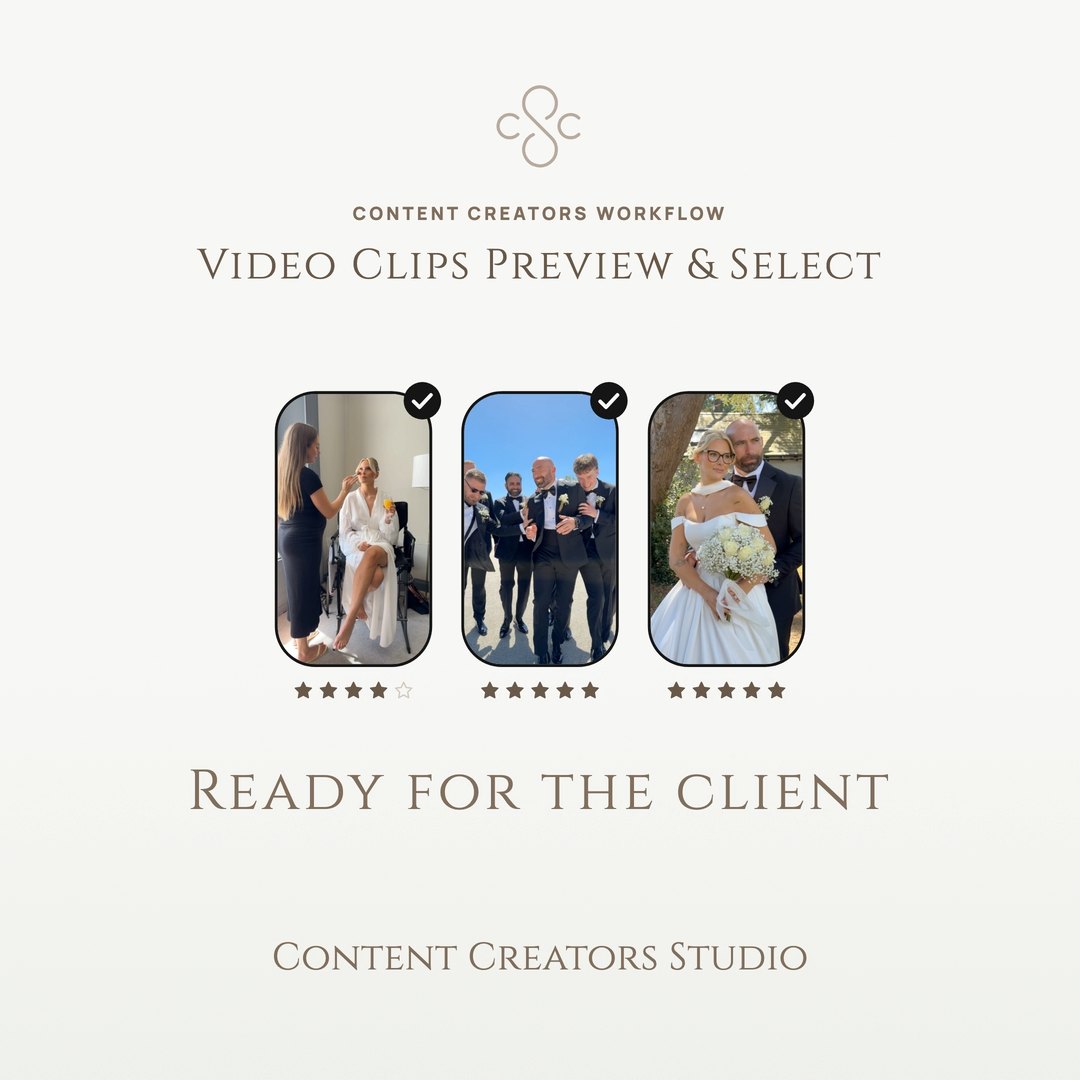
Space plays, ← and → step between clips, and 1 to 5 rate one without stopping the picture. P picks a keeper and X sets a clip aside. Don’t deliberate over any of it. You’re sorting, not deciding.
Mark where each keeper gets good
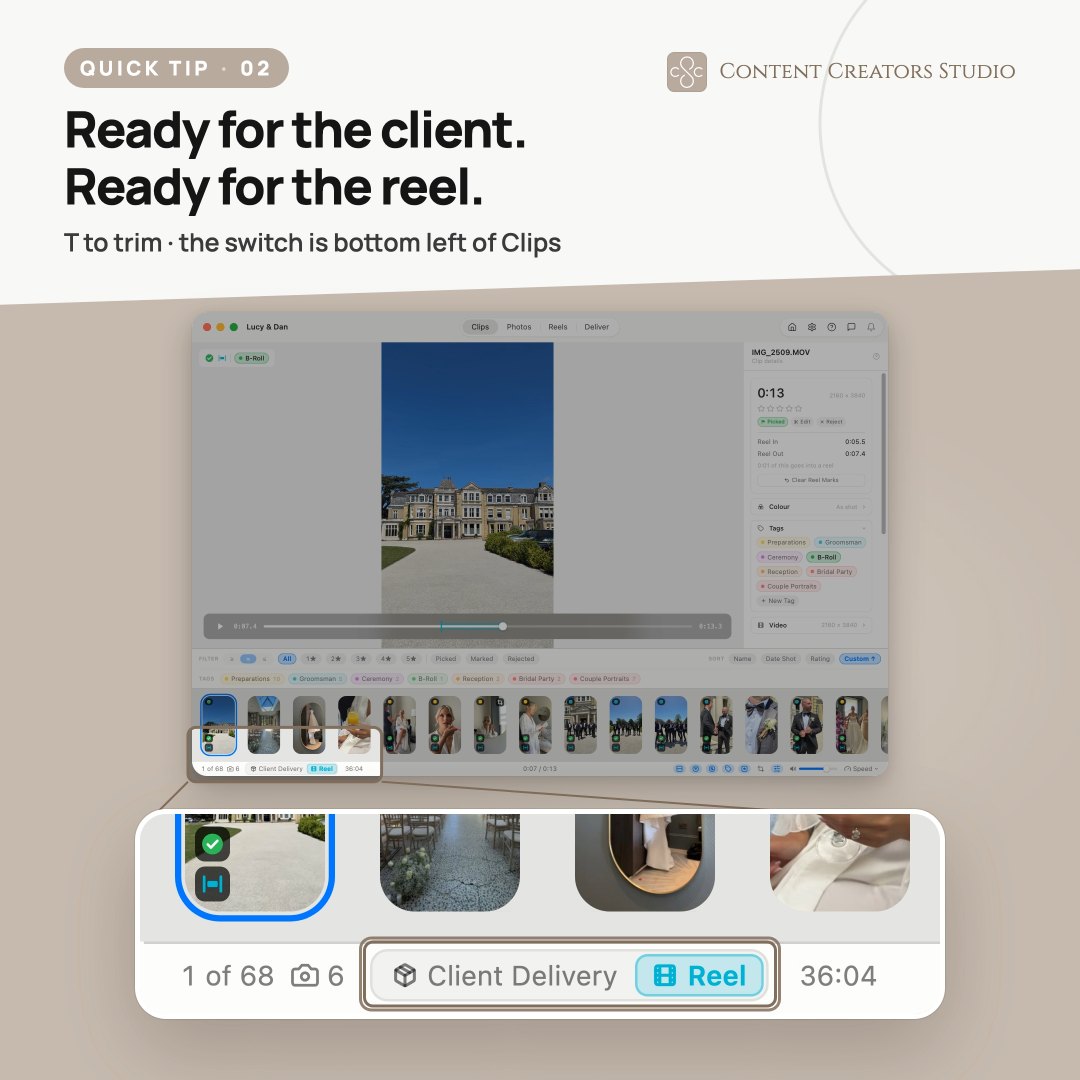
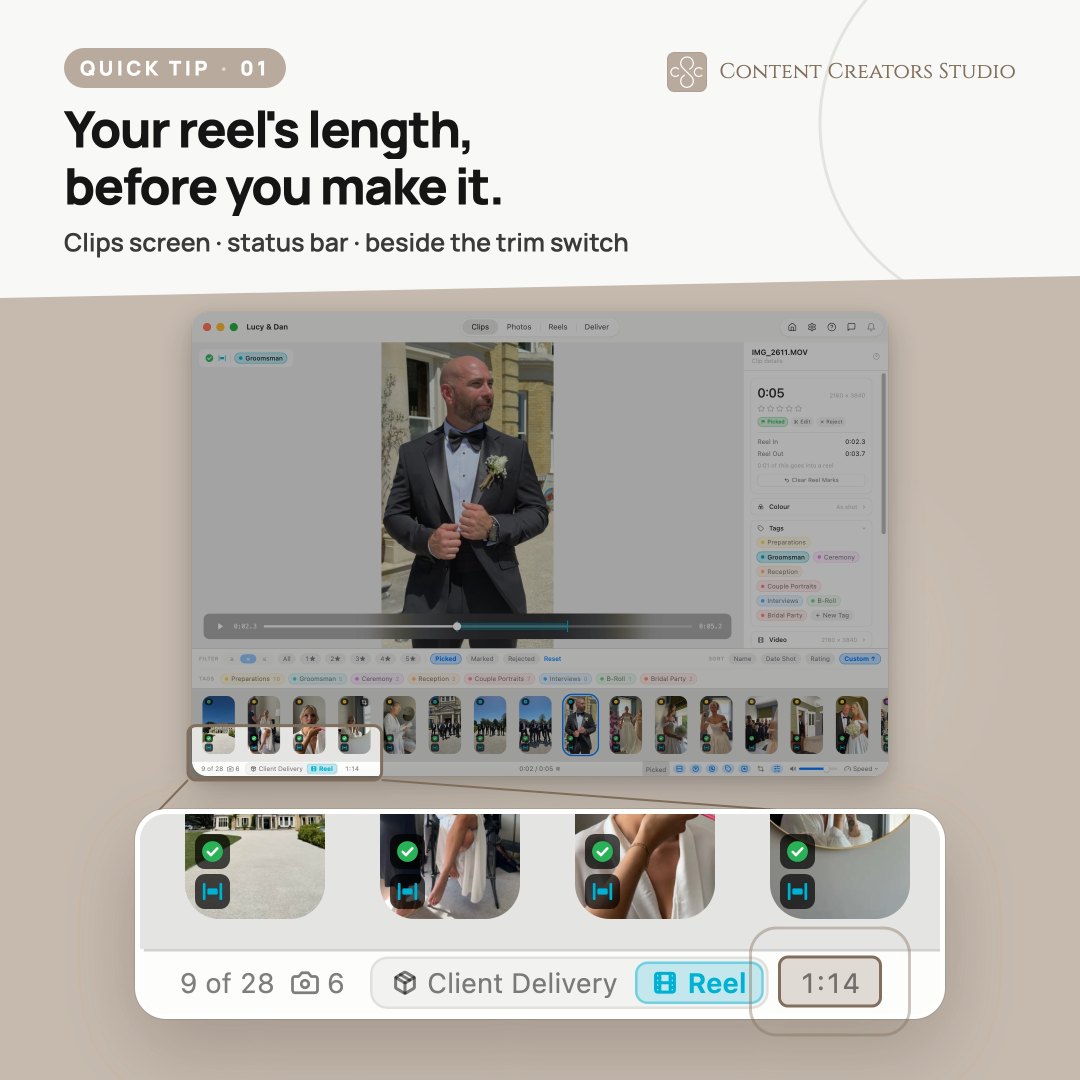
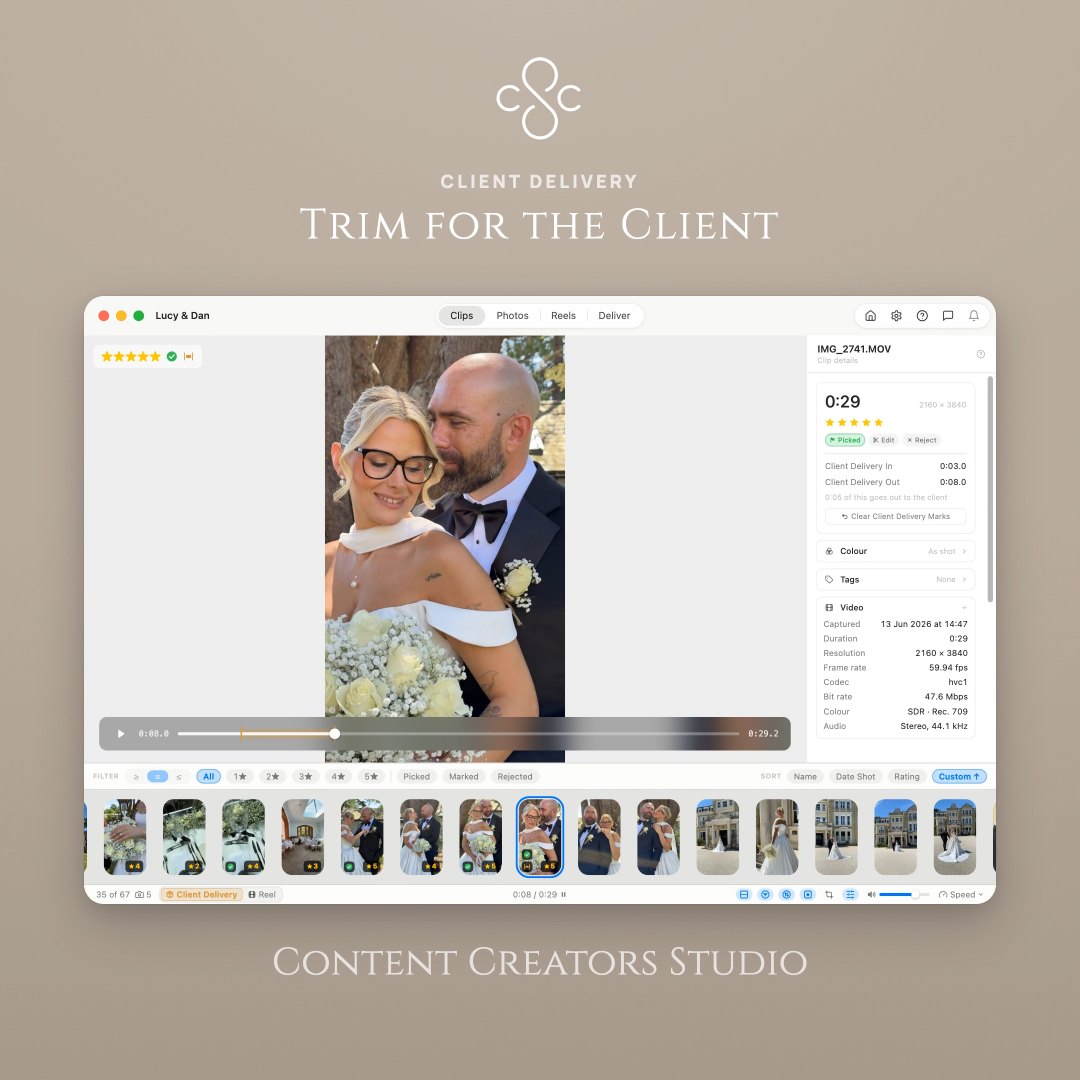
The switch at the bottom left of the Clips screen decides which set of marks you are setting, and a project opens on Client Delivery. You’re cutting a reel here, so put it on Reel first. Then I where the take starts working, O where it stops. This is the step that pays for itself: clips arrive on a reel already trimmed to these marks, so a minute spent here saves ten later. U clears both if you change your mind. Each mode keeps its own points, so a client can have the long version and the reel the tight one.
Grab a photo, if you fancy oneOptional
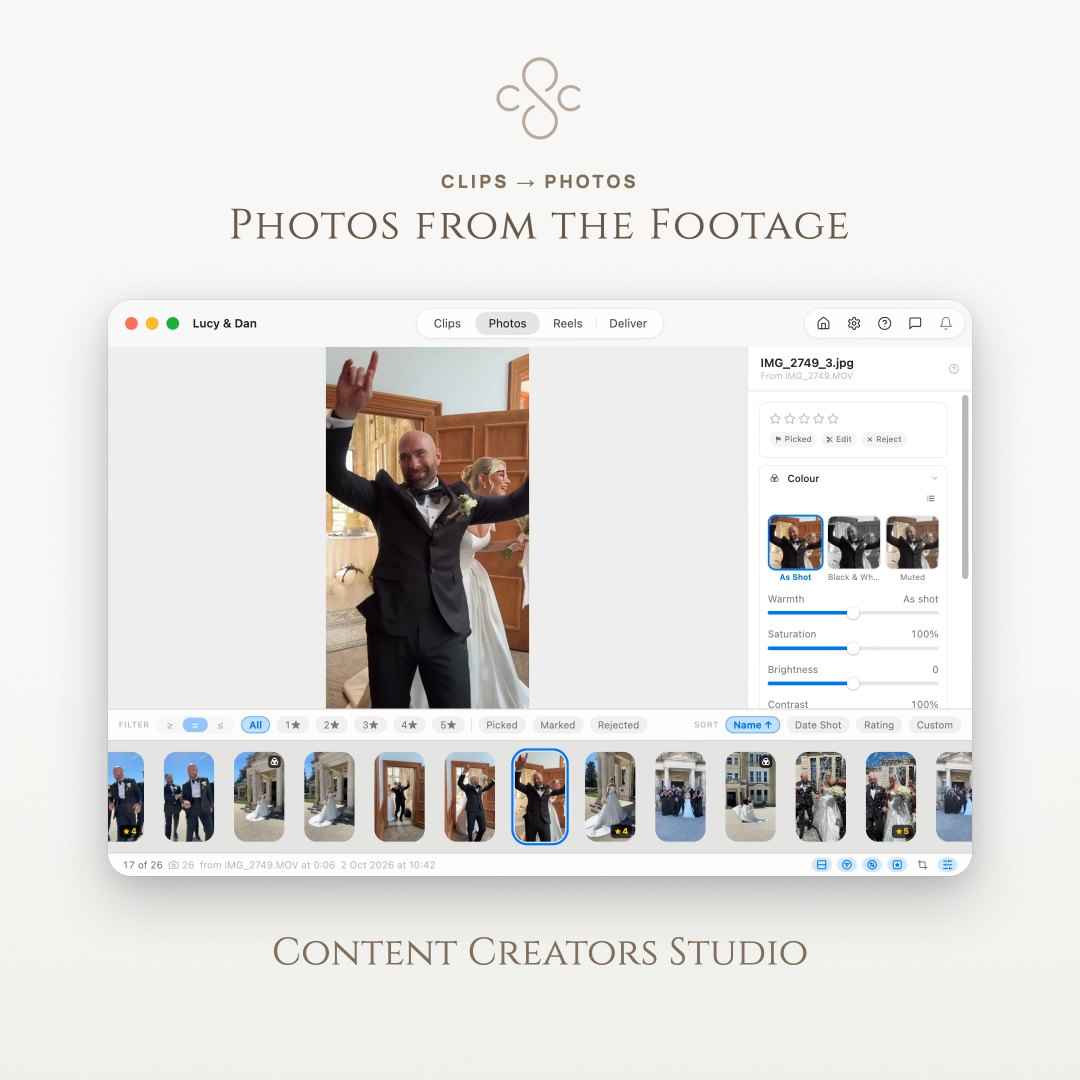
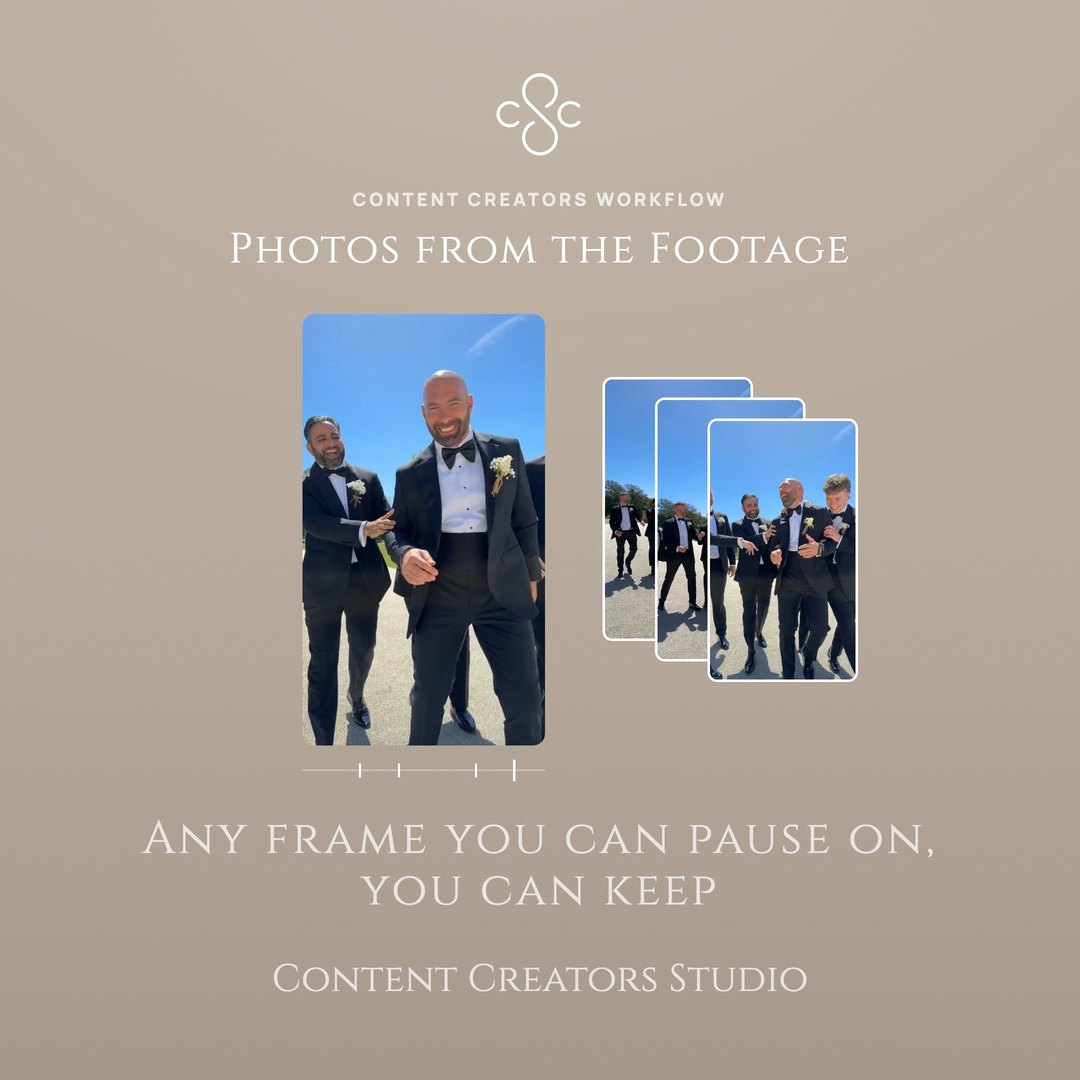
Press C on any frame while it plays and it lands on the Photos screen, with the same colour as the clip it came from. This one takes five seconds. Skip it and the rest still works.
Turn the keepers into a reel
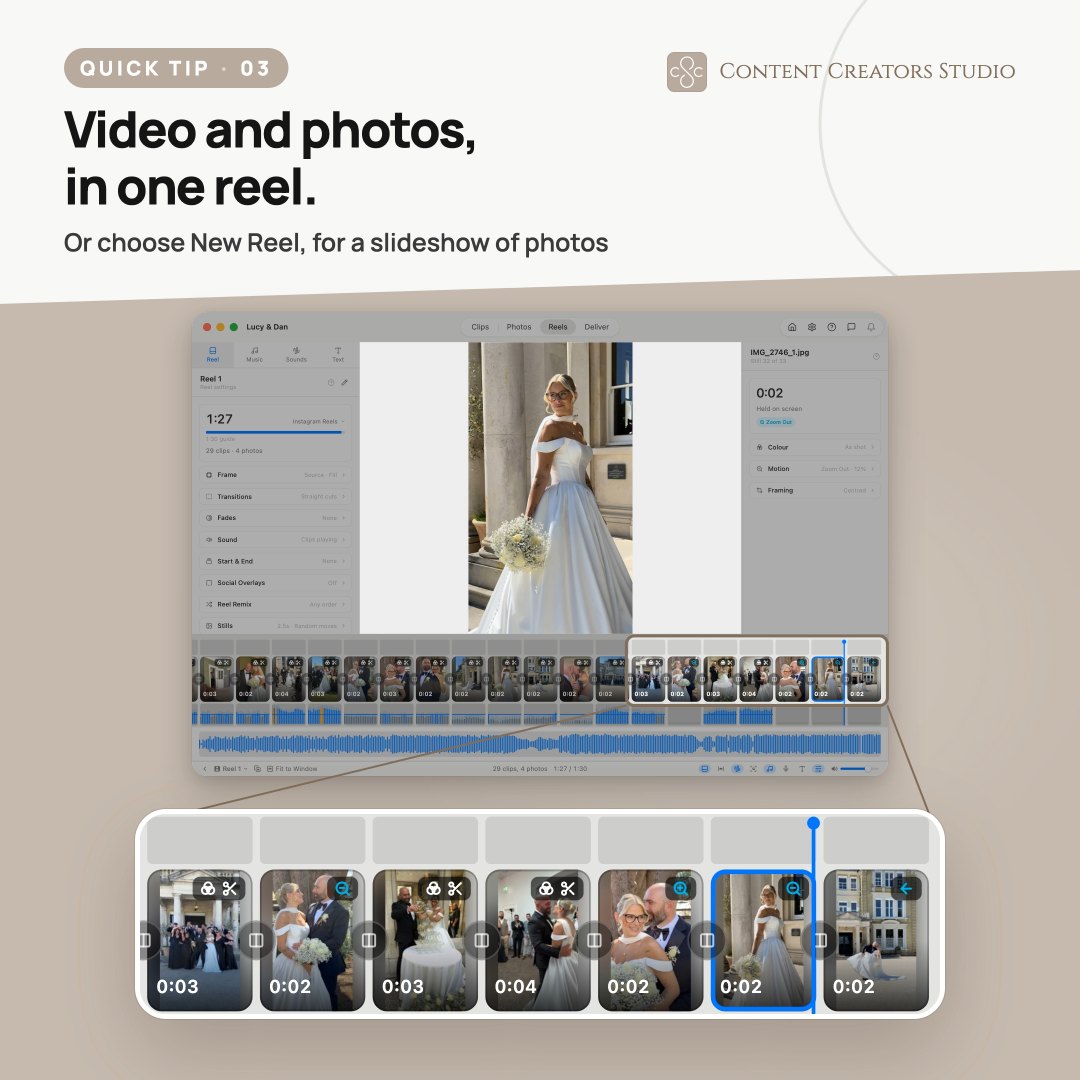
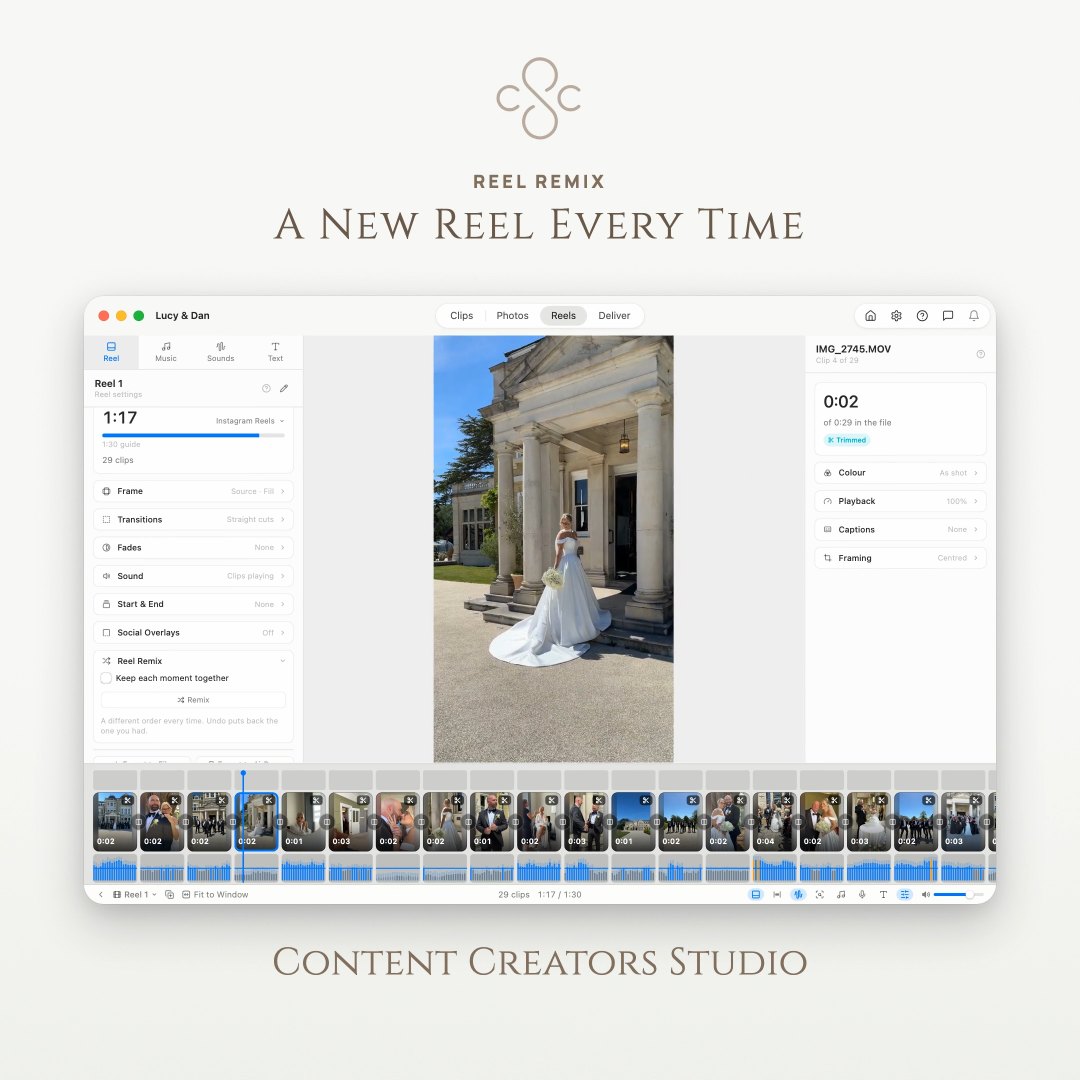
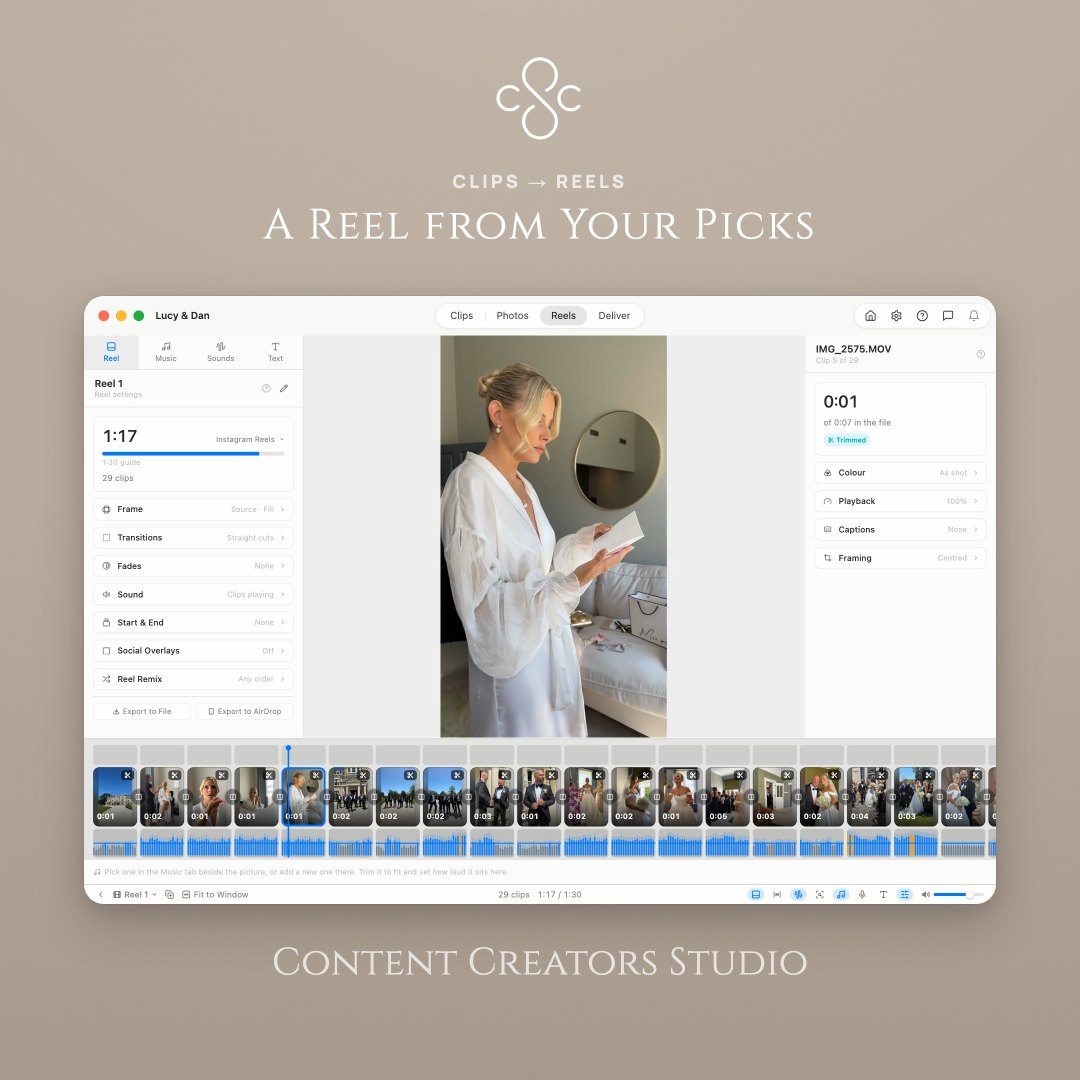
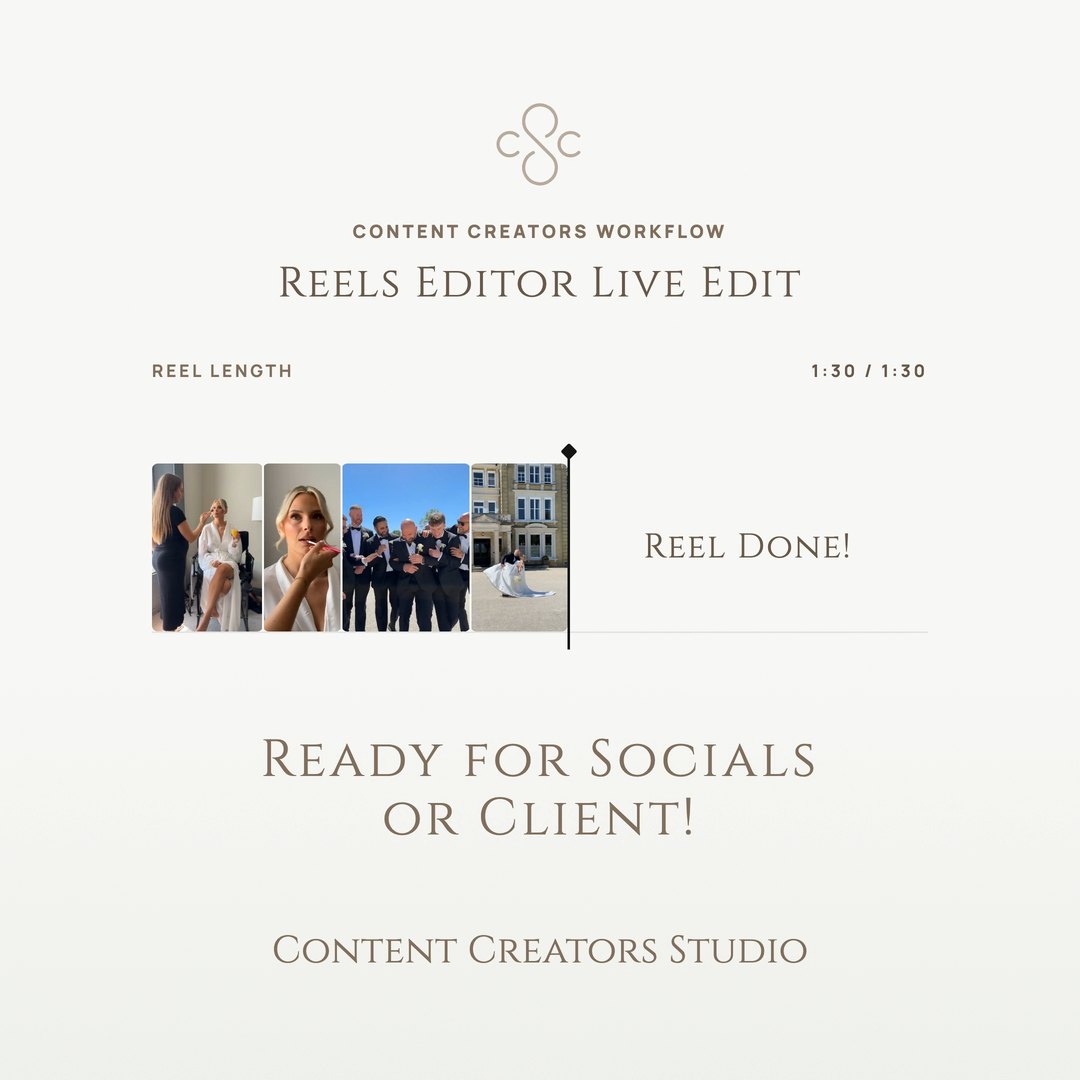
Select them on the Clips screen, right-click, and choose New Reel. They arrive on the timeline already trimmed to your Reel marks, in the order you chose them. Drag one sideways to reorder it; X takes one back off.
Tighten it while it plays
Press Space and watch the whole thing through once. When a shot outstays its welcome press O as it goes past, and the cut happens under you. ⌘Z goes back as far as you need.
Get it out
Go back to the reel chooser, open the reel card’s options button, and choose Export… Vertical, H.264, Standard quality: the defaults are right for Reels, Shorts and TikTok. What you just heard is what lands in the file.
That’s a reel, cut from a folder of footage, in about the time it takes to watch the footage once. Which is the point of the whole app.
When you’ve been round once
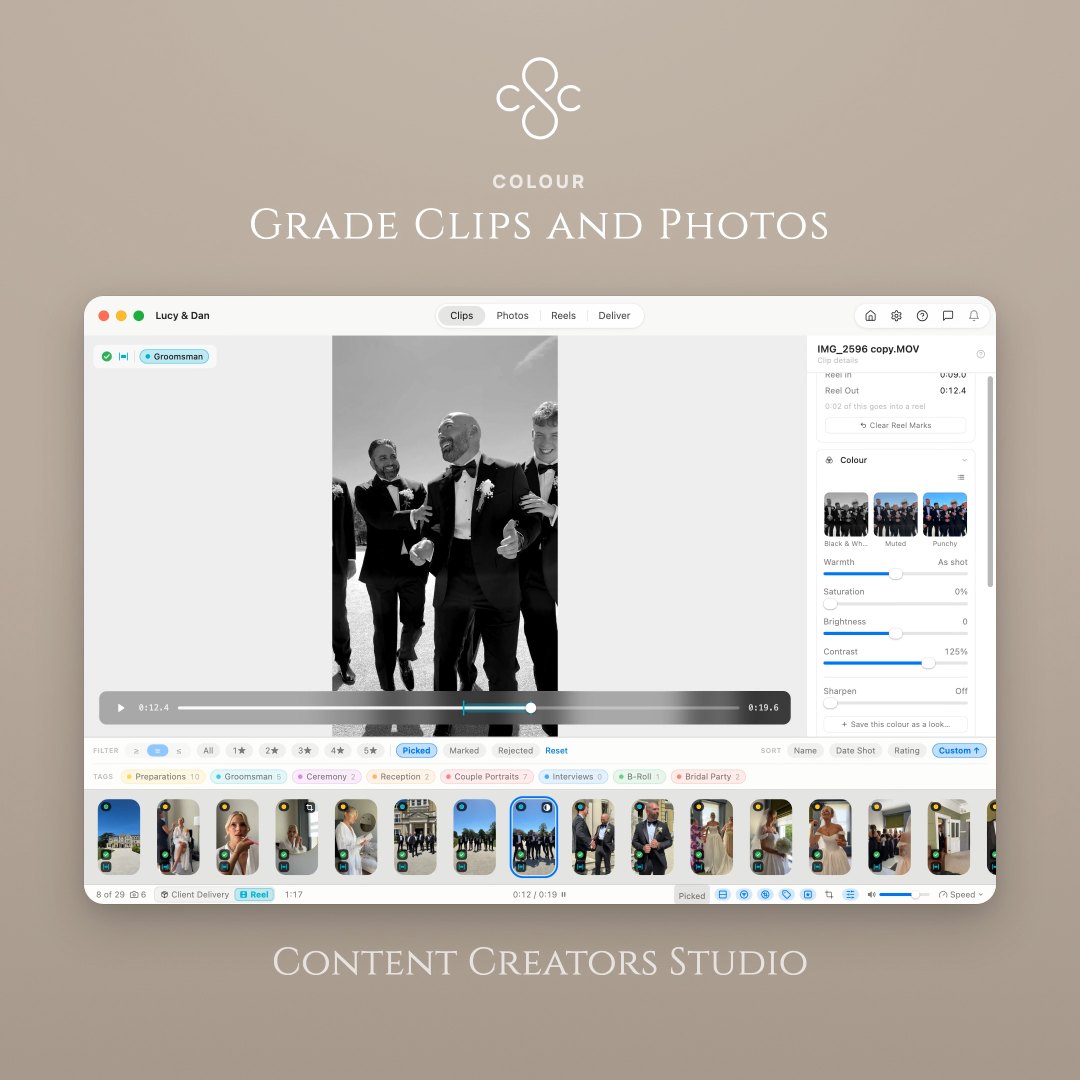
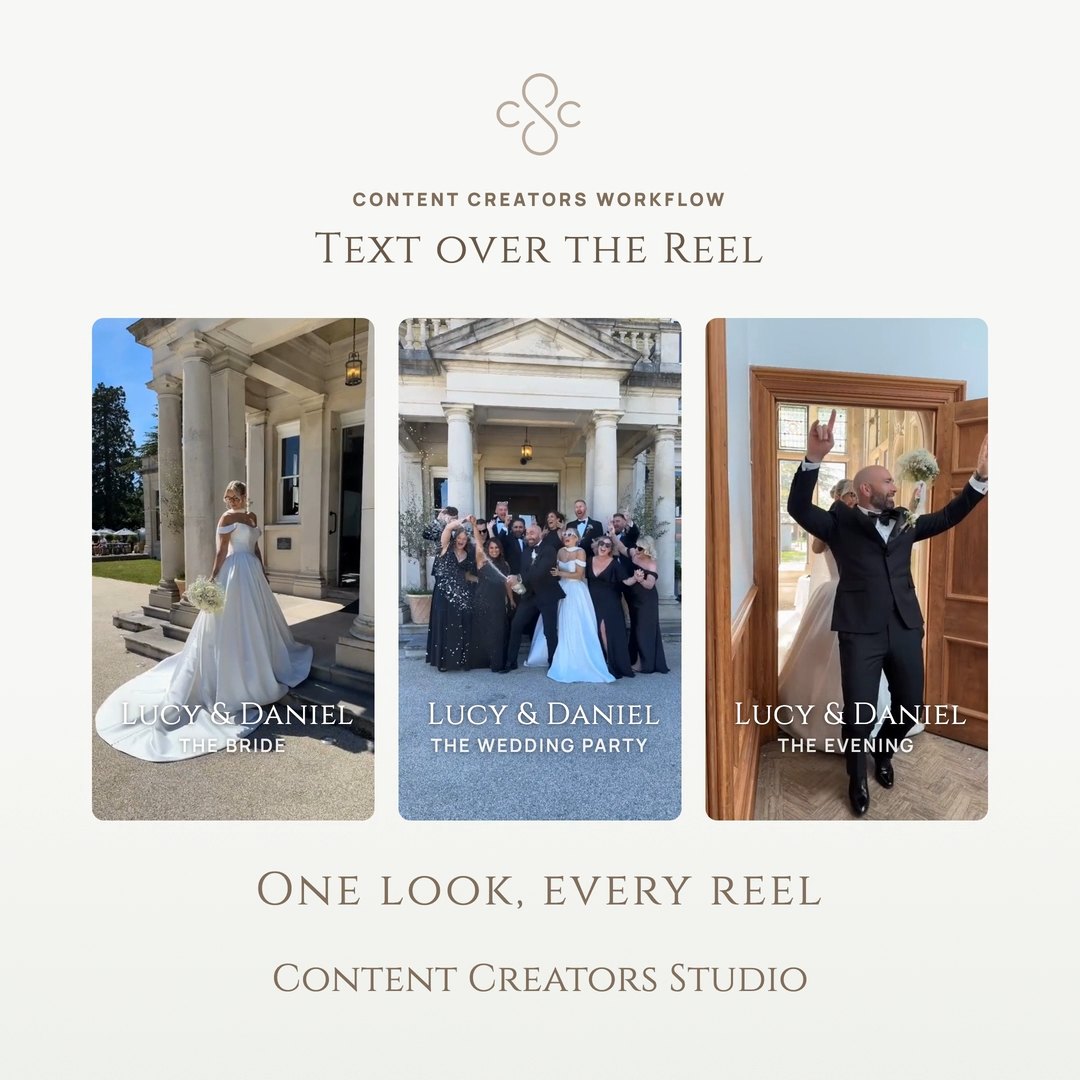
The guide inside the app has a page on everything else, and a ? button beside the thing it explains wherever you are. Worth reading properly: Reviewing the Footage, because the rhythm of rating and marking is what makes everything after it quick, and Cutting a Reel for the rest of what a reel can be — music underneath, sound lifted off one clip and laid under another, text over the picture, a grade to finish.
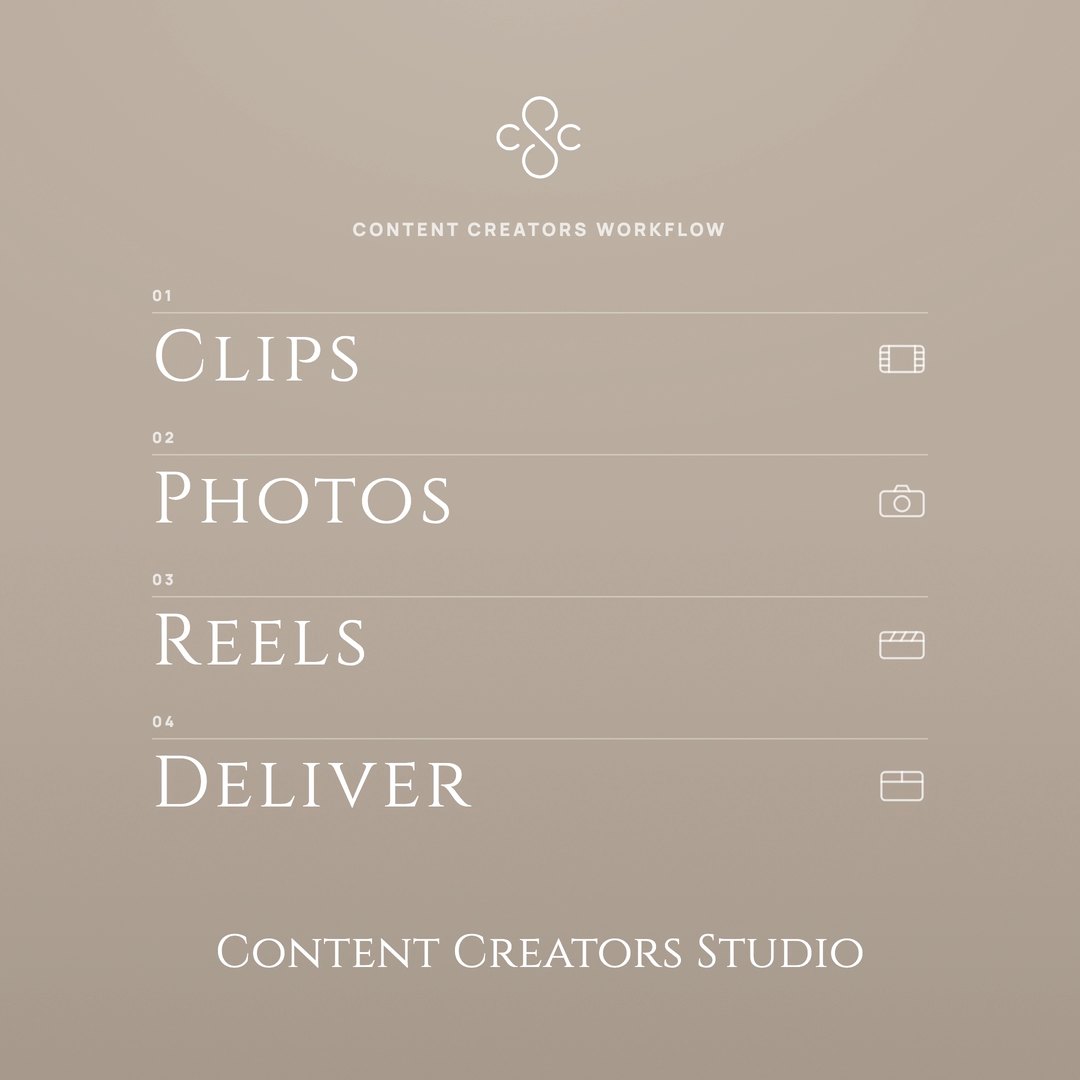
When a whole job has to go to a client rather than one reel to a feed, the Deliver screen sends the reels, clips and photos out together in one pass.
Stuck at one of the steps, or think one of them is wrong? That’s the most useful thing you can tell us. Help ▸ Send Feedback inside the app takes a sentence and carries your app and macOS versions with it, so you don’t have to. It never sends your footage or anything from your projects. Or reply to any email we have sent you.